环境搭建
安装node.js
- 下载地址: https://nodejs.org/en/
- 选择一个10以上的版本即可
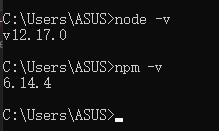
- 安装成功后,输入node -v出现版本号就算安装成功了

安装git bash
- 下载地址: https://git-scm.com/downloads
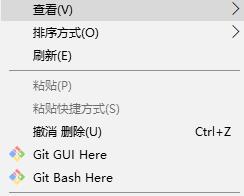
- 安装成功后,在空白处右键出现gitbash就算安装成功了
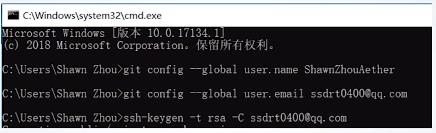
- 安装完之后,注册用户名和邮箱
在控制台输入:
git config –global user.name dj49846917
git config –global user.email 821084785@qq.com
安装hexo
- 输入命令: npm install -g hexo-cli进行全局安装
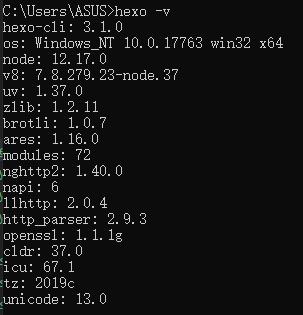
- 安装成功后,输入hexo -v出现版本号就算安装成功了
创建项目
- 输入命令:hexo init blog
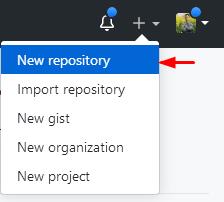
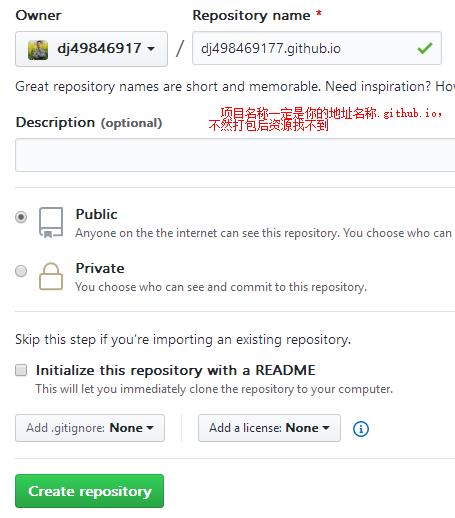
创建github仓库
- 新建一个github项目,命名为: dj49846917.github.io
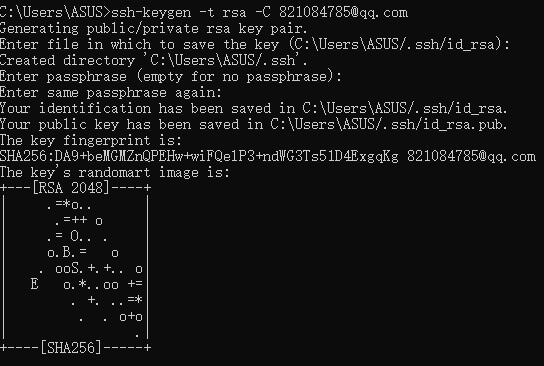
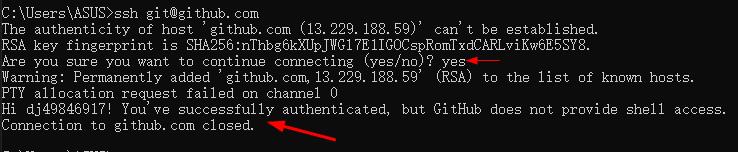
创建ssh,便于推送github时不再重复输入账号密码
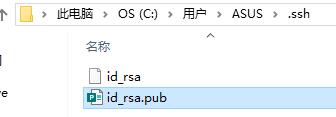
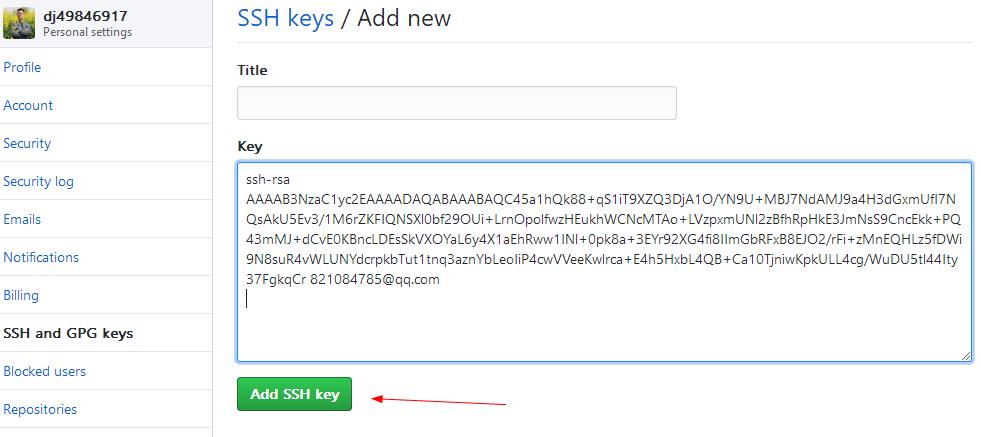
- 在控制台输入:ssh-keygen -t rsa -C 821084785@qq.com, 然后会在C:\Users\ASUS生成.ssh文件夹,里面的id_rsa.pub就是我们想要的
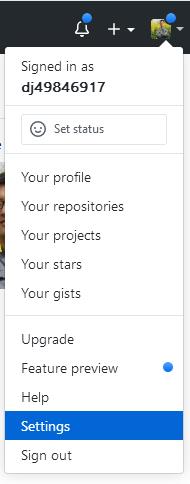
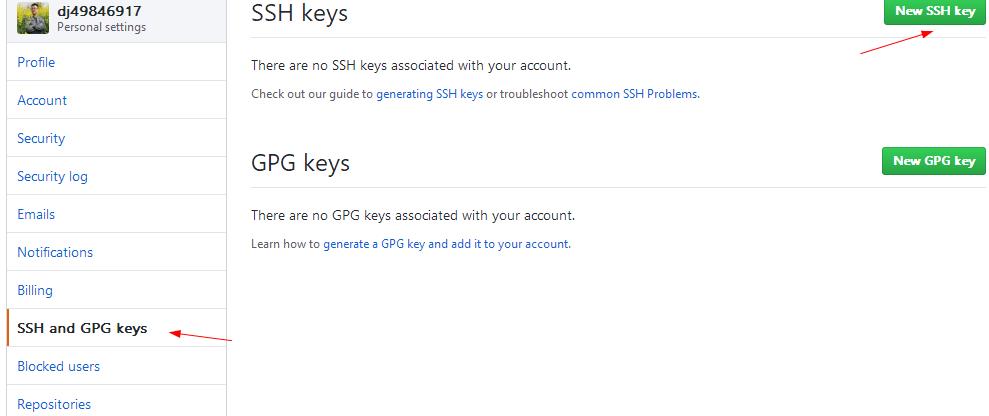
- 在github的settings=>SSH and GPG keys里,新建SSHkey
部署到github
输入命令:npm install hexo-deployer-git –save 这个包可以部署
找到_config.yml,添加以下内容:
deploy:
type: ‘git’
repo: ‘https://github.com/dj49846917/dj49846917.github.io.git',
branch: master执行命令:
hexo clean (清除缓存)
hexo g (生成对应的文件)
hexo d (发布)
hexo new page 文件名 (新建页面)
记录下hexo当前博客下的版本
{
“name”: “hexo-site”,
“version”: “0.0.0”,
“private”: true,
“scripts”: {
“build”: “hexo generate”,
“clean”: “hexo clean”,
“deploy”: “hexo deploy”,
“server”: “hexo server”
},
“hexo”: {
“version”: “4.2.1”
},
“dependencies”: {
“hexo”: “^4.2.1”,
“hexo-deployer-git”: “^2.1.0”,
“hexo-generator-archive”: “^1.0.0”,
“hexo-generator-category”: “^1.0.0”,
“hexo-generator-index”: “^1.0.0”,
“hexo-generator-tag”: “^1.0.0”,
“hexo-renderer-ejs”: “^1.0.0”,
“hexo-renderer-marked”: “^2.0.0”,
“hexo-renderer-pug”: “^1.0.0”,
“hexo-renderer-stylus”: “^1.1.0”,
“hexo-server”: “^1.0.0”
}
}
